Customer Story: We need a special microscopy system to grow pathogen bacteria (from human blood samples) on a custom gel inside a 35mm petri-dish, using an upright microscope with reflected brightfield and reflected darkfield lights. The system should allow scanning the full size of one or two 35mm petri-dishes during 24 hours at controlled temperature of 37’C (acceptable for the range of 35-40’C) without any condensation and dryness.

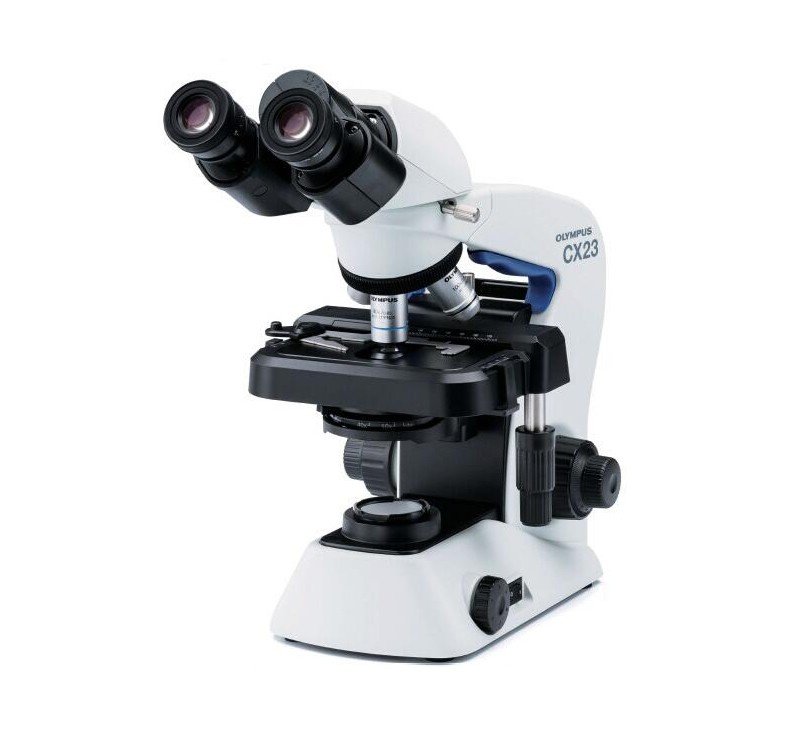 Olympus CX23 Biological Microscope
 Fluorescence Slide Scanning Microscope BUM400AFL
Custom Design of A Miniature Incubator /Chamber for Automated Upright Microscope BMU450A
Here we describe how to make a custom miniature incubator or chamber for an upright automated/manual biological/industrial microscope. The chamber allows control of temperature in the base, lid and objective lens, cooling and/or heating, humidity and CO2/O2 and most importantly scanning a big area of a sample such as one or two 35mm petri-dishes, well plate, chamber slides and so on, in an automated mode while the chamber is fully closed. Here we discuss some challenges during the development in terms of how to fit this chamber to the microscope and meet all requirements of having a closed chamber for a motorized stage.
Custom Design of A Miniature Incubator /Chamber for Automated Upright Microscope BMU450A
We like to introduce our custom microscopy service by an example from one of our clients in Greater Toronto Area, Canada.
Customer Story: We need a special microscopy system to grow pathogen bacteria (from human blood samples) on a custom gel inside a 35mm petri-dish, using an upright microscope with reflected brightfield and reflected darkfield lights. The system should allow scanning the full size of one or two 35mm petri-dishes during 24 hours at controlled temperature of 37’C (acceptable for the range of 35-40’C) without any condensation and dryness.
Solution Summary: This representative example describes step-by-step how to make a custom miniature incubator or chamber for an upright automated biological/industrial microscope. The chamber allows control of temperature in the base, lid and objective lens, humidity and CO2/O2 and most importantly scanning a big area of a sample such as one or two 35mm petri-dishes, chamber slides and so on, in automated mode while the chamber is fully closed. Here we discuss some challenges during the development in terms of how to fit this chamber to the microscope and meet all requirements of having a closed chamber for motorized stage.
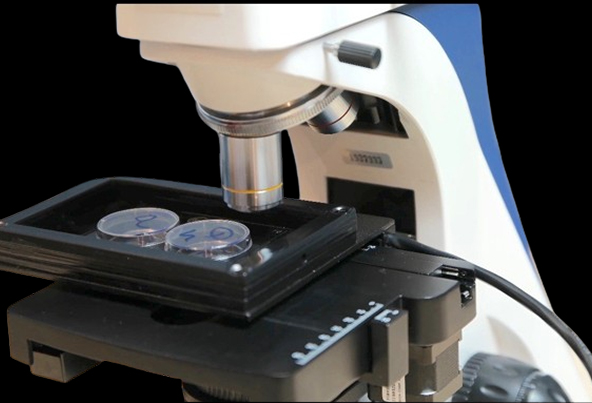
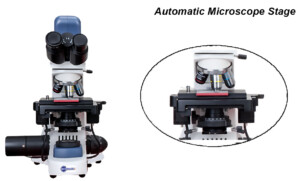
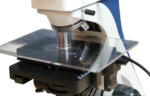
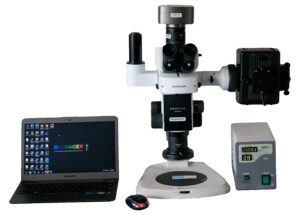
Microscope Base: We used one of our upright automated biological microscopes BUM400A as a base of this custom microscope. This microscope is automated. It has a motorized mechanical XY stage, autofocus and automated rotating quadruple (4-spot) nosepiece.
We did modify the microscope opto-mechanics to get the reflected BF, DF, Pol, DIC and FL imaging from top view but this is not covered here.
Our goal is to build a chamber or miniature incubator to put on top of the motorized stage to get the sample images from top view,
while we like to control temperature, CO2 and humidity. One of the samples we like to work on will be a 35 millimeter petri dish. If we can scan more than one, it will be great. It will be a couple of challenges here. Let us review the challenges and possible solution together:
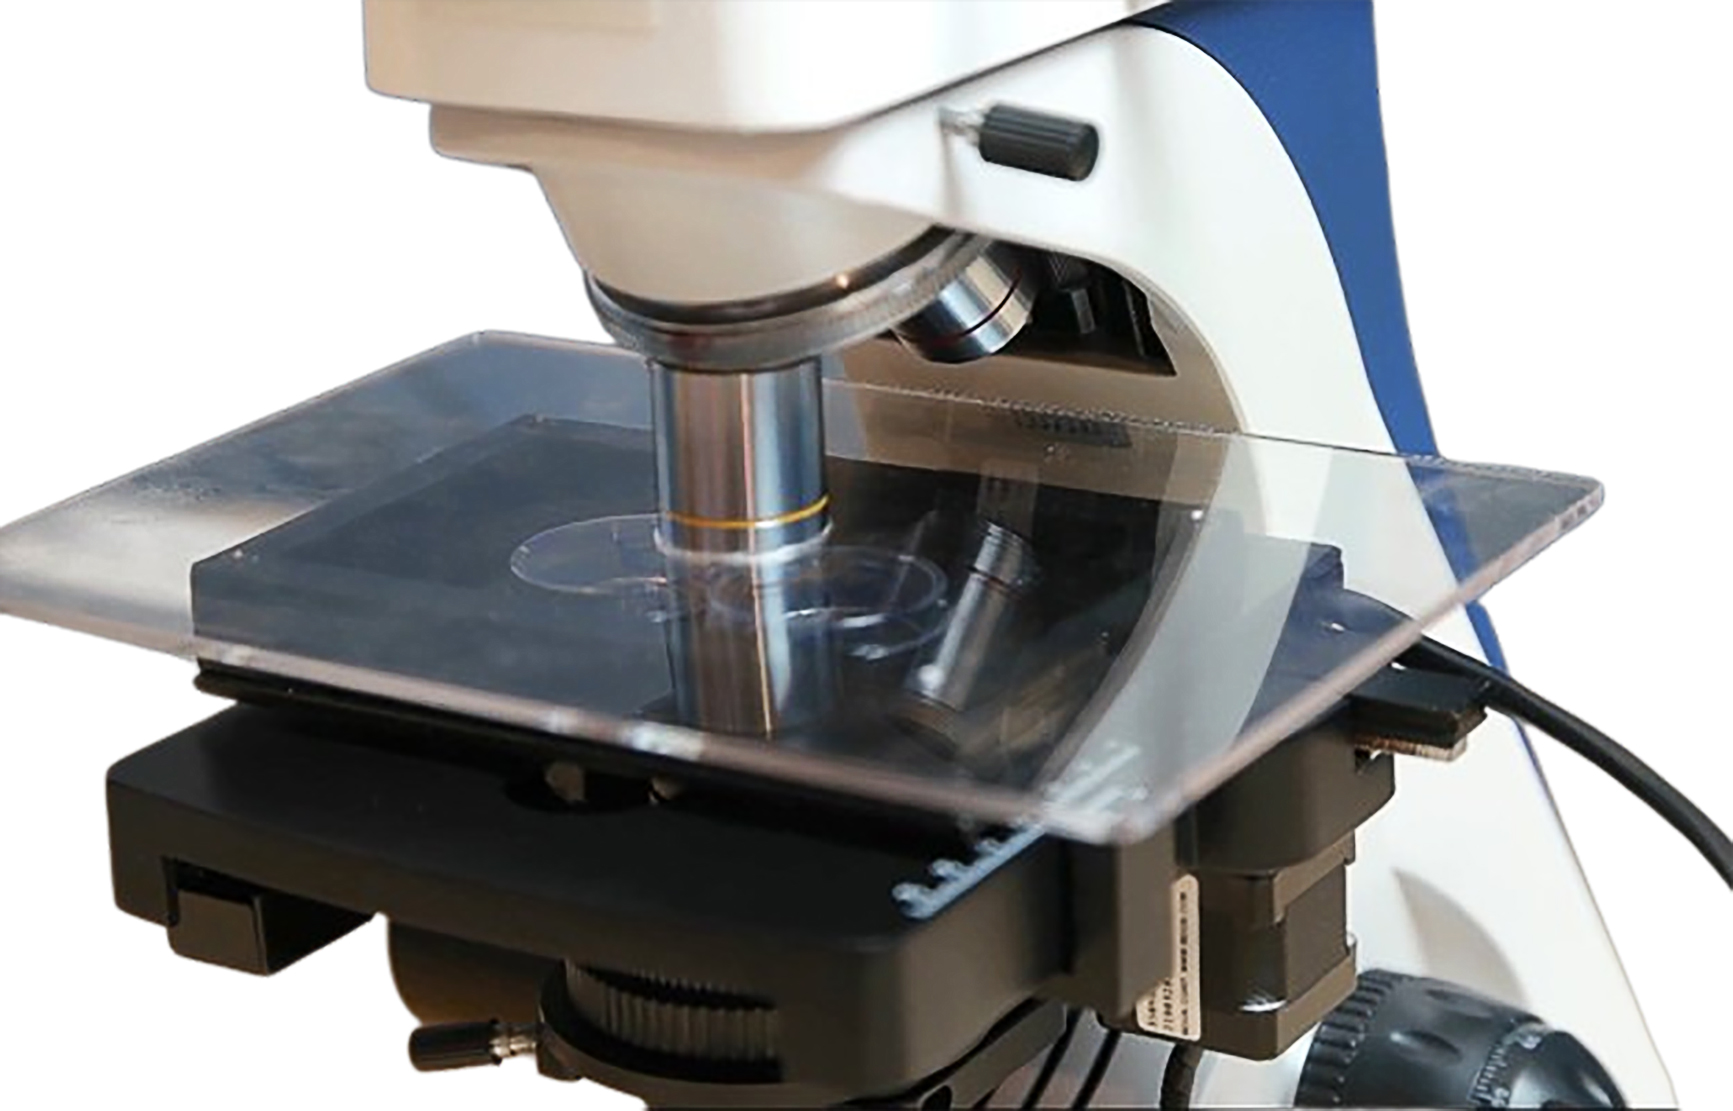
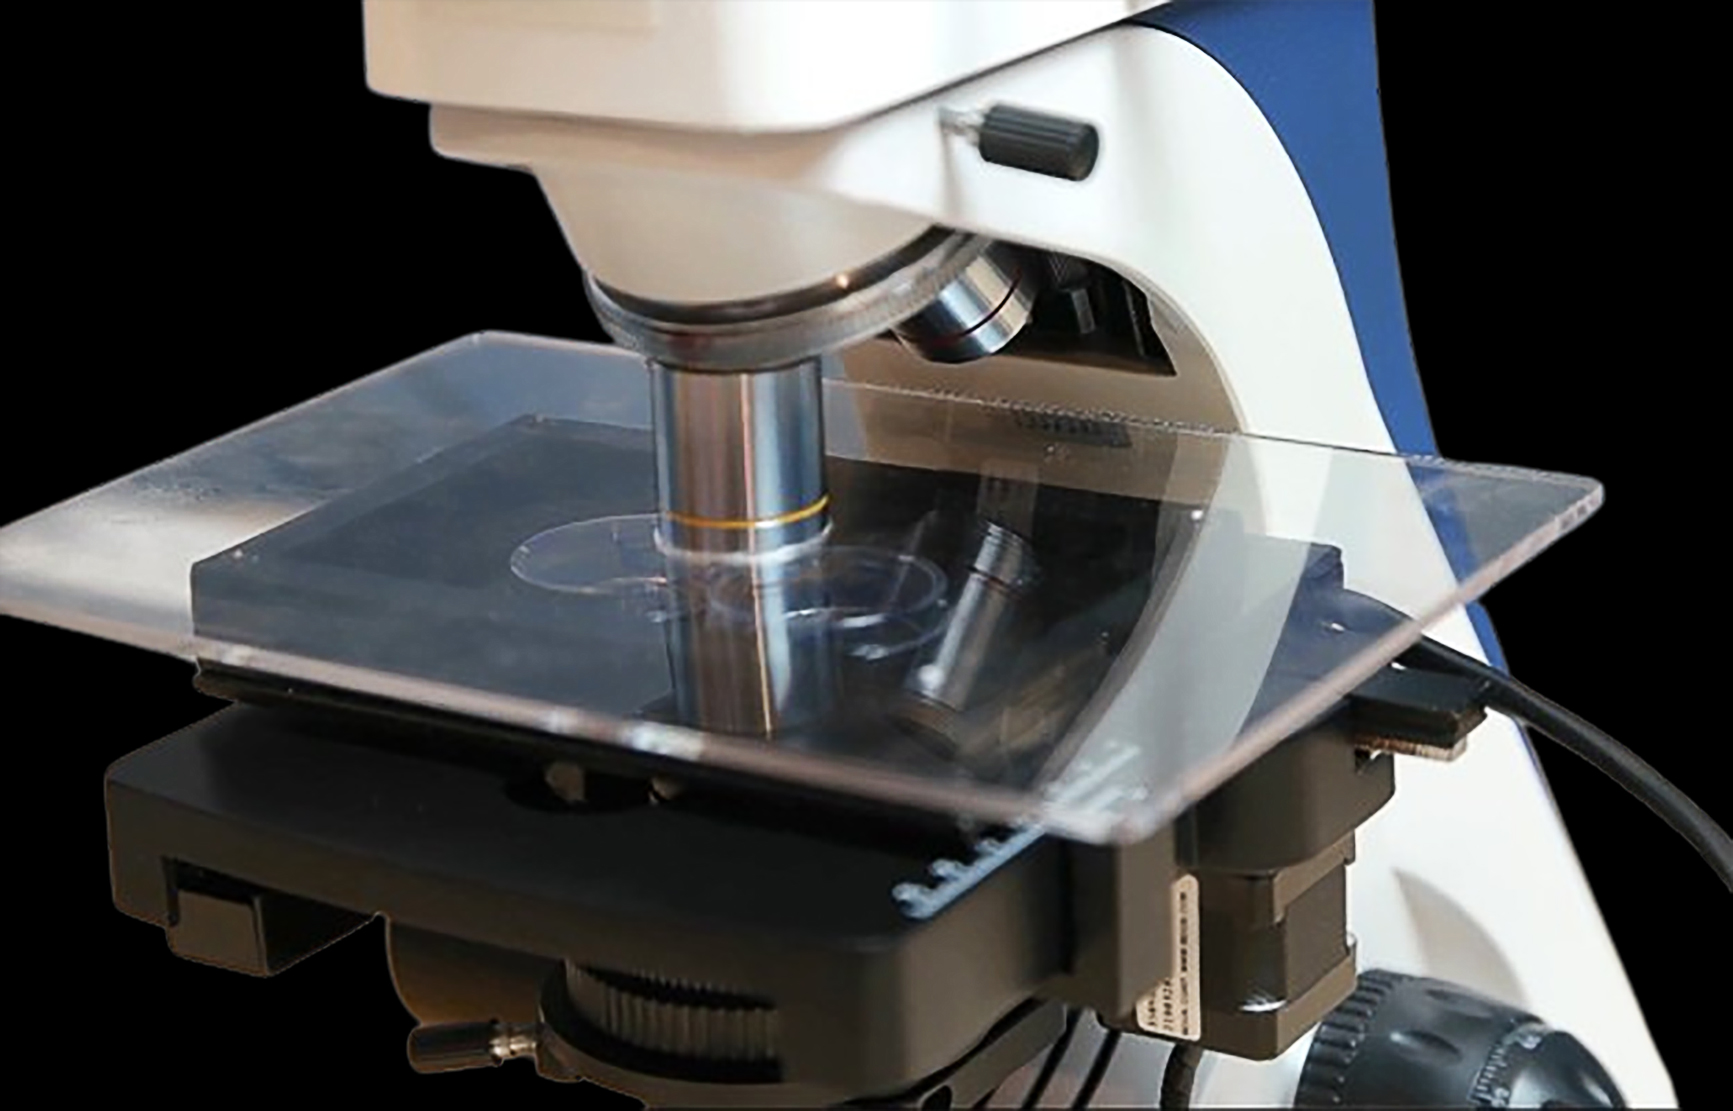
- One of the challenges is the working distance or the height of chamber, i.e. available distance from top of the stage (when it is at the lowest position) up to the edge of an objective lens. If we move the stage to the lowest position and measure the distance form the stage surface up to the edge of a 40x objective lens we have maximum 35 millimeter. Thus, using an off-the-shelf chamber will not work. We have to make a custom chamber.
- Another challenge here is the available scanning size. According to the microscope specifications, of BUM400A, this automated microscope was designed particularly for scanning a glasses slide. The maximum area we can automatically cover with this microscope will be the full size of a double-size glasses slide (75x50mm). In horizontal direction we can go up to 80mm. This is just bigger than a glass slide length which is 75mm (or 3 inches). In the Y direction or depth, this can be as large as a double-size glass slide coverslip which is 40 millimeter. Thus since we have a 40mm x 80 mmm scanning area, we are hoping to be able to collect images of two 35 millimeter petri dishes.
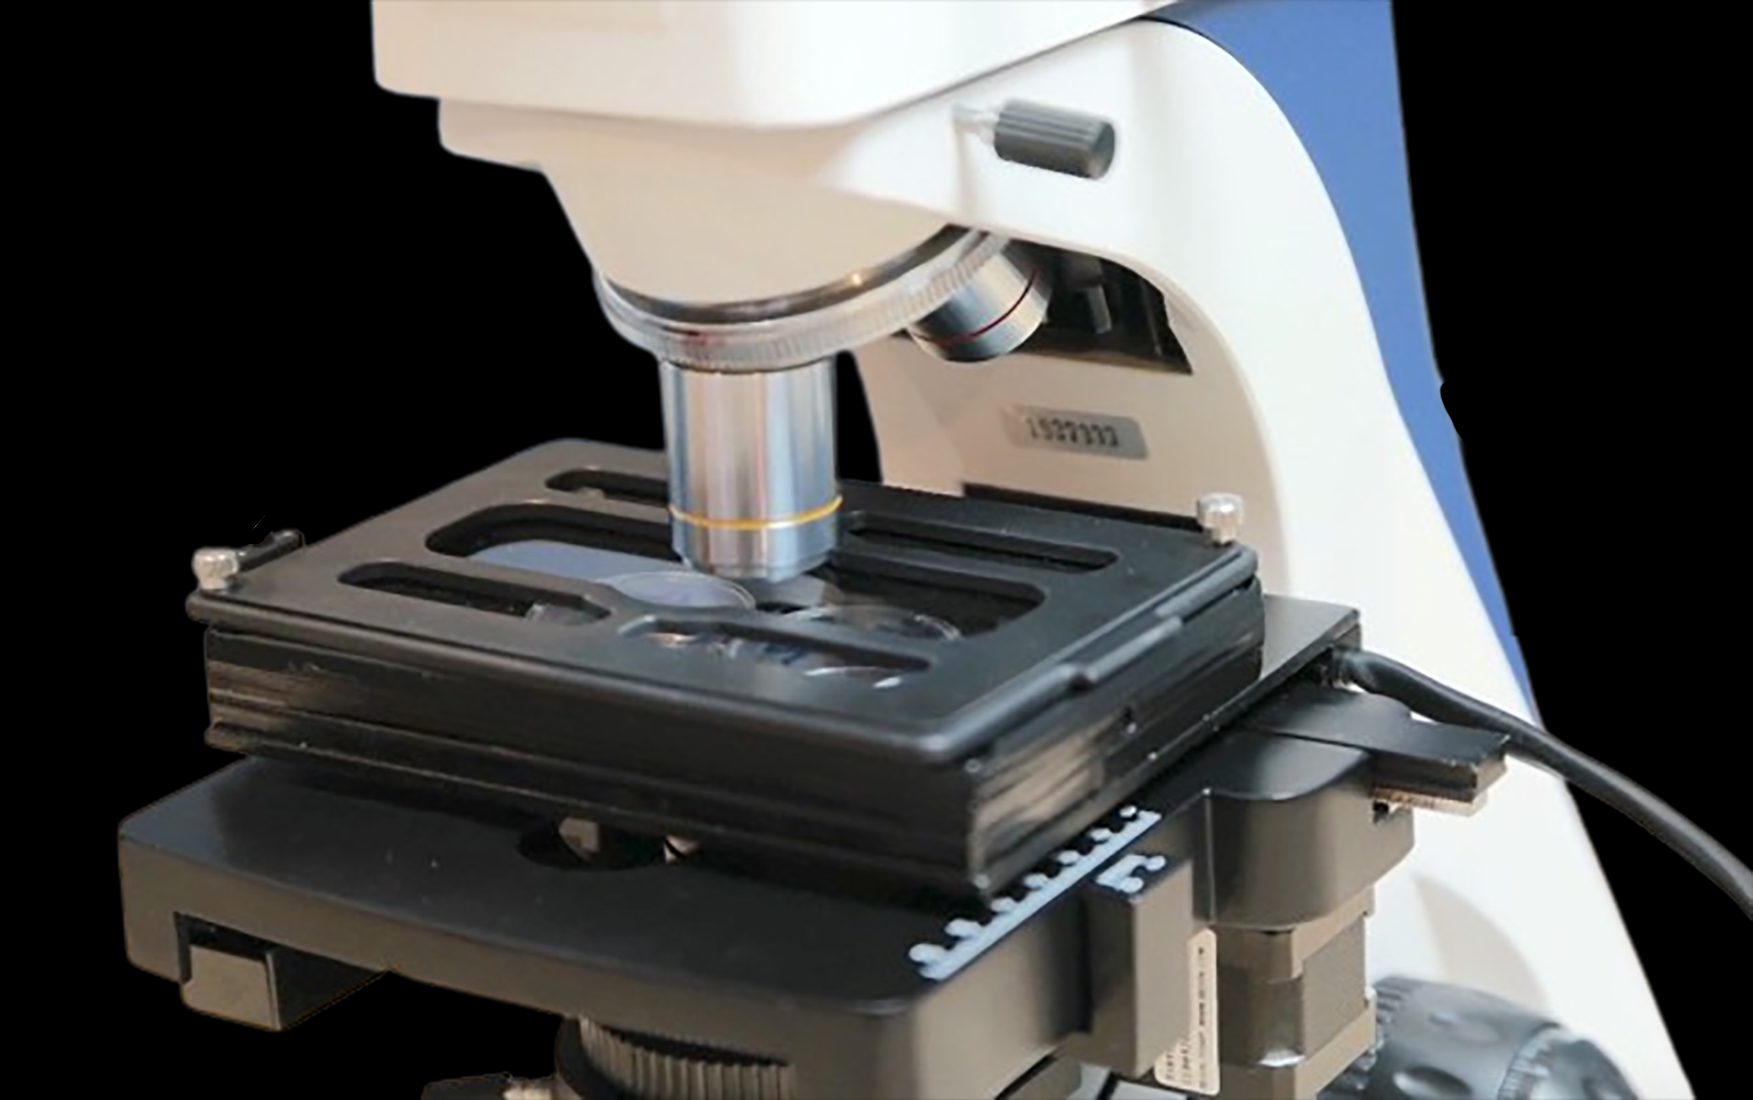
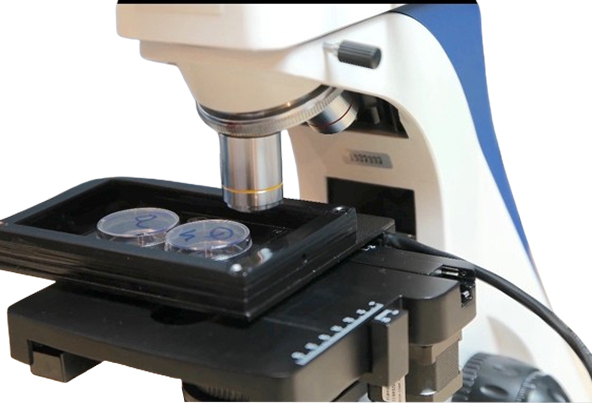
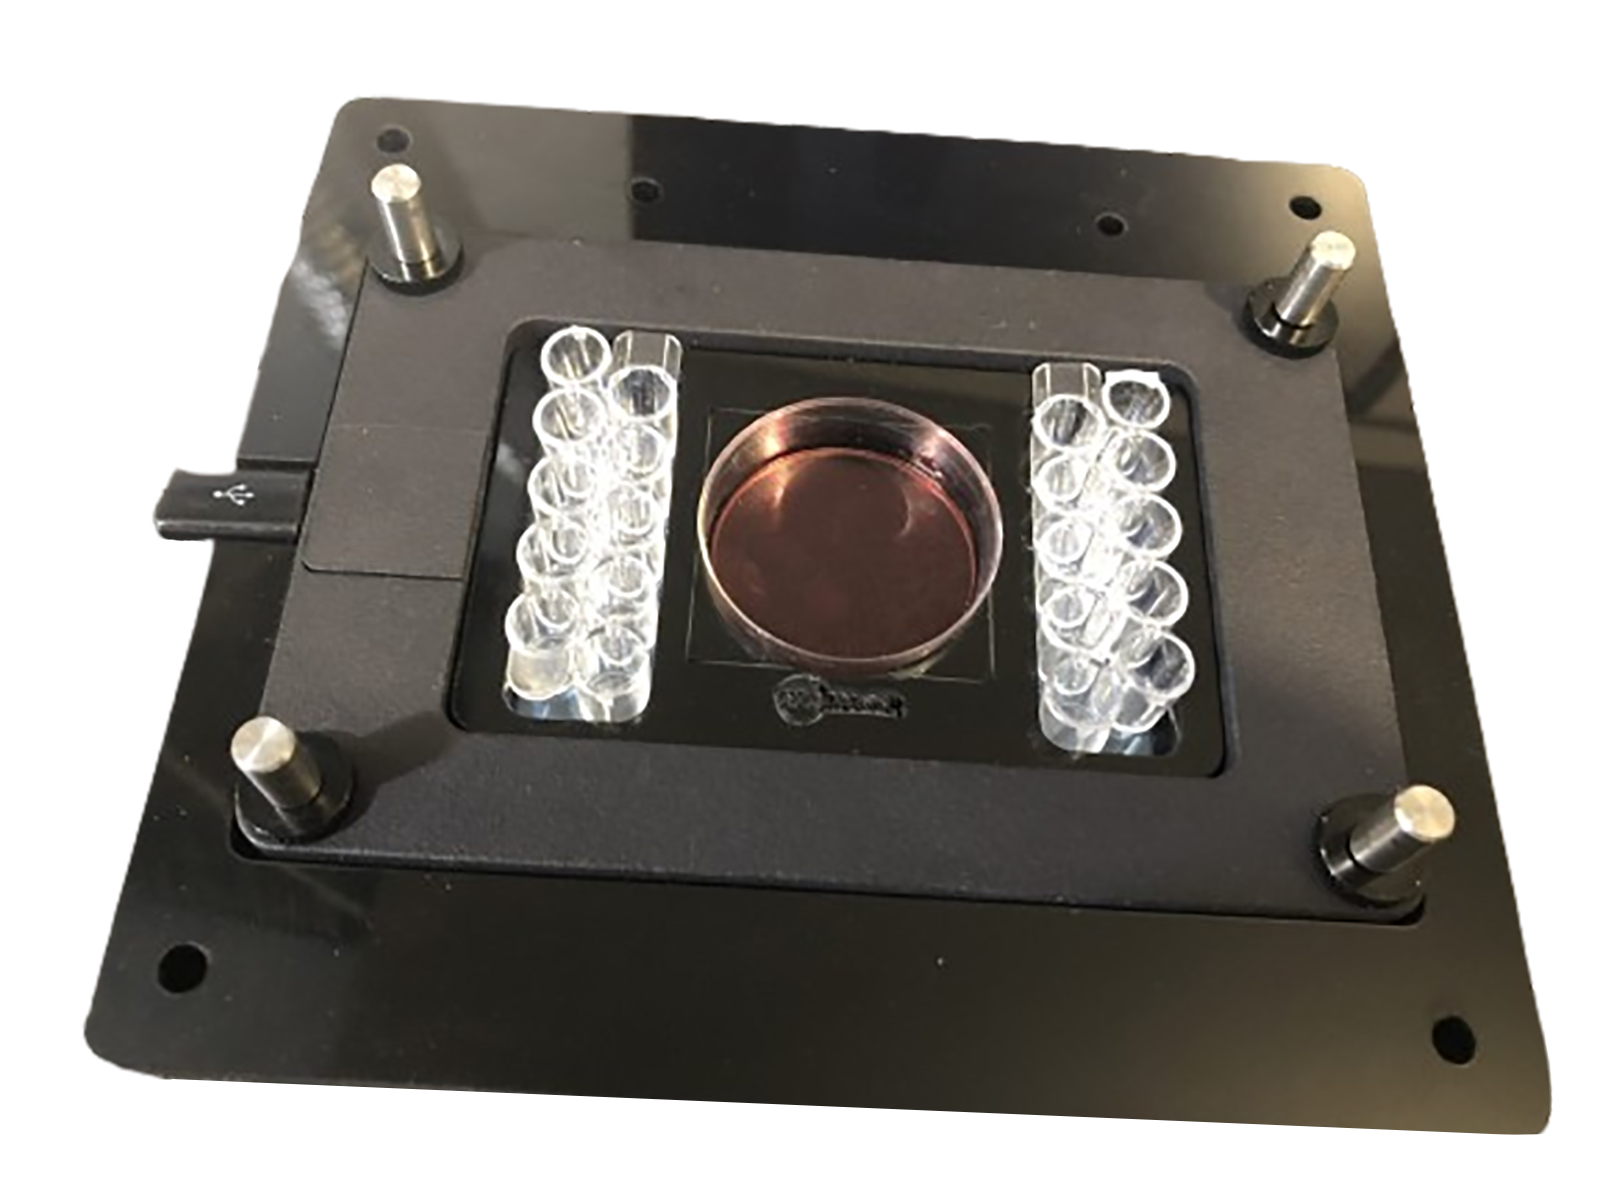
- We decided to use a metal thermo-plate. This fits on top of the XY stage. One of the challenges here is we have to protect this heating plate from touching the stage. We have to give enough gap or space between the hot plate and the stage, otherwise you can not get the stable temperature. We used a spacer to avoid the thermo-plate to touch the stage. Similarly, we put a spacer to the rear side of the thermo-plate.
- We have to do a couple of calculations to have a great fit. The microscope is supplied with a slide holder that attaches to XY Stage. We can use the benefit of those two screws there that moves the slide in X direction. This should be smooth enough which moves the sample in X direction.
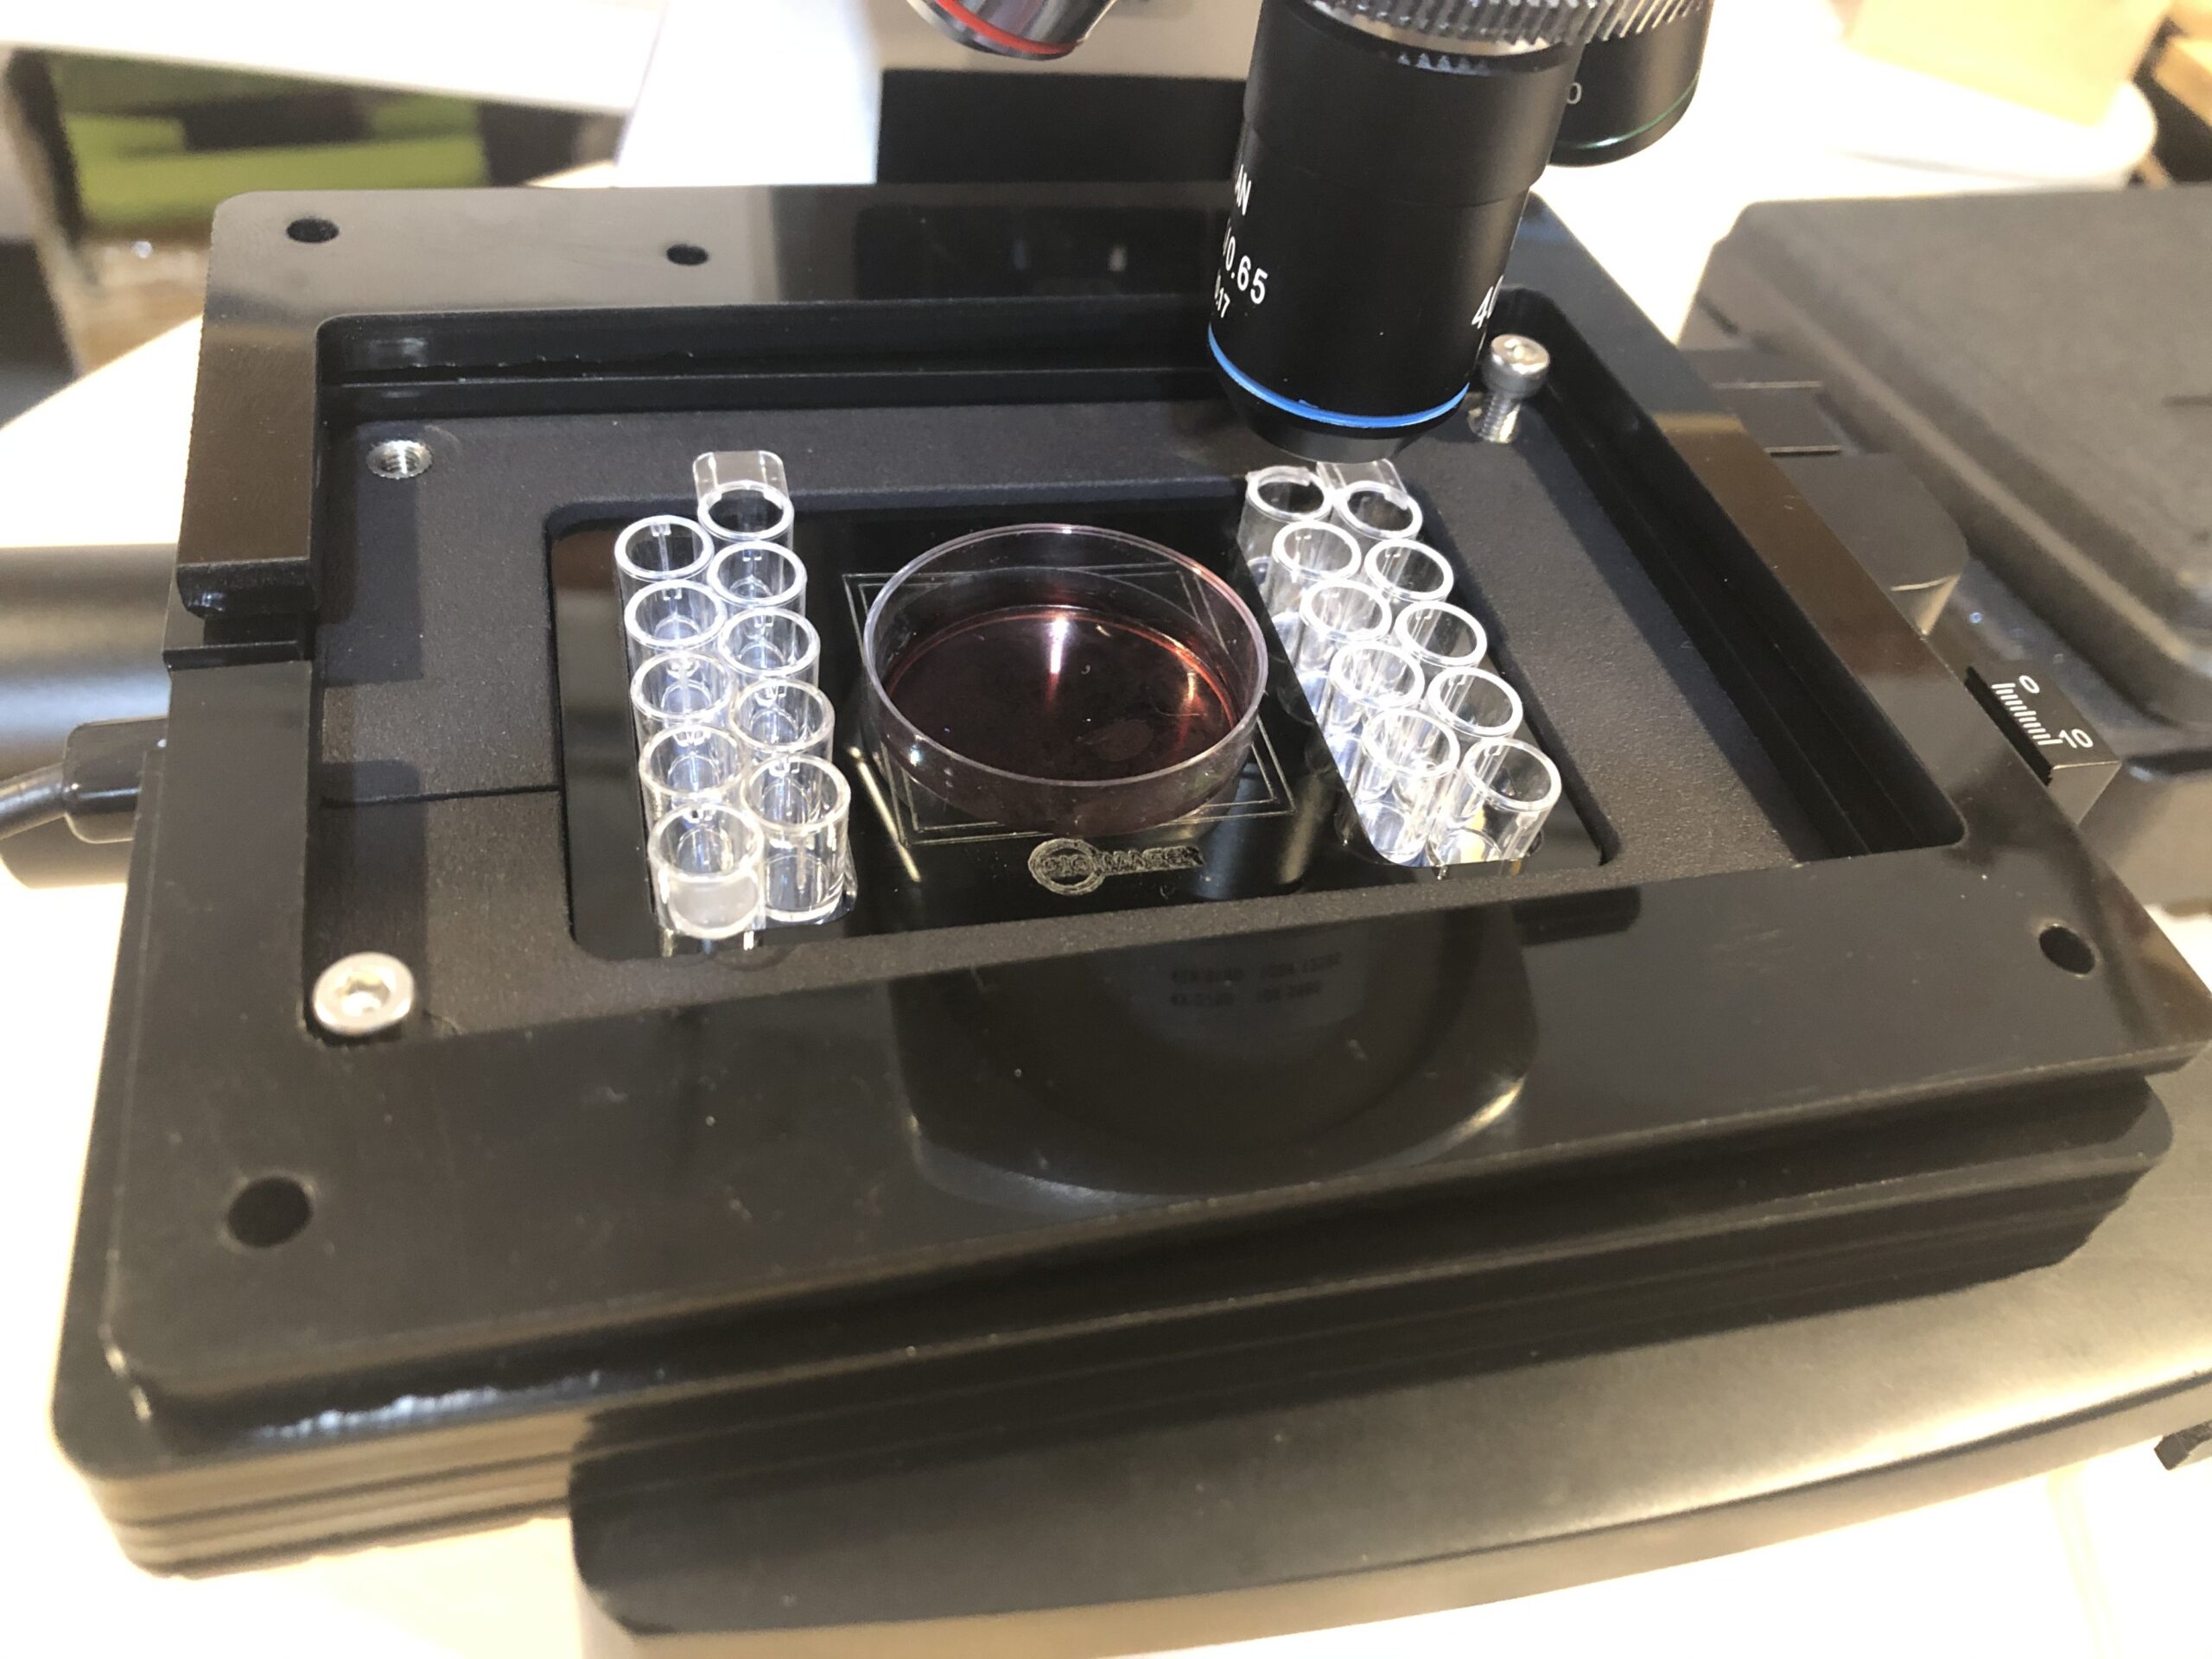
- If you are going to control the temperature and run an experiment for a long term, it will be some challenges. Normally, there is a small elliptical hole inside the metal plate. We can block that for better humidity and temperature control. If we need to use the transmitted light so we can remove the blocker.
- After all measurements, we come up with a design. The height of chamber will be matter. If you are going to have a closed chamber, this shouldn’t be too high. If it is too short then it won’t be enough for humidity control.
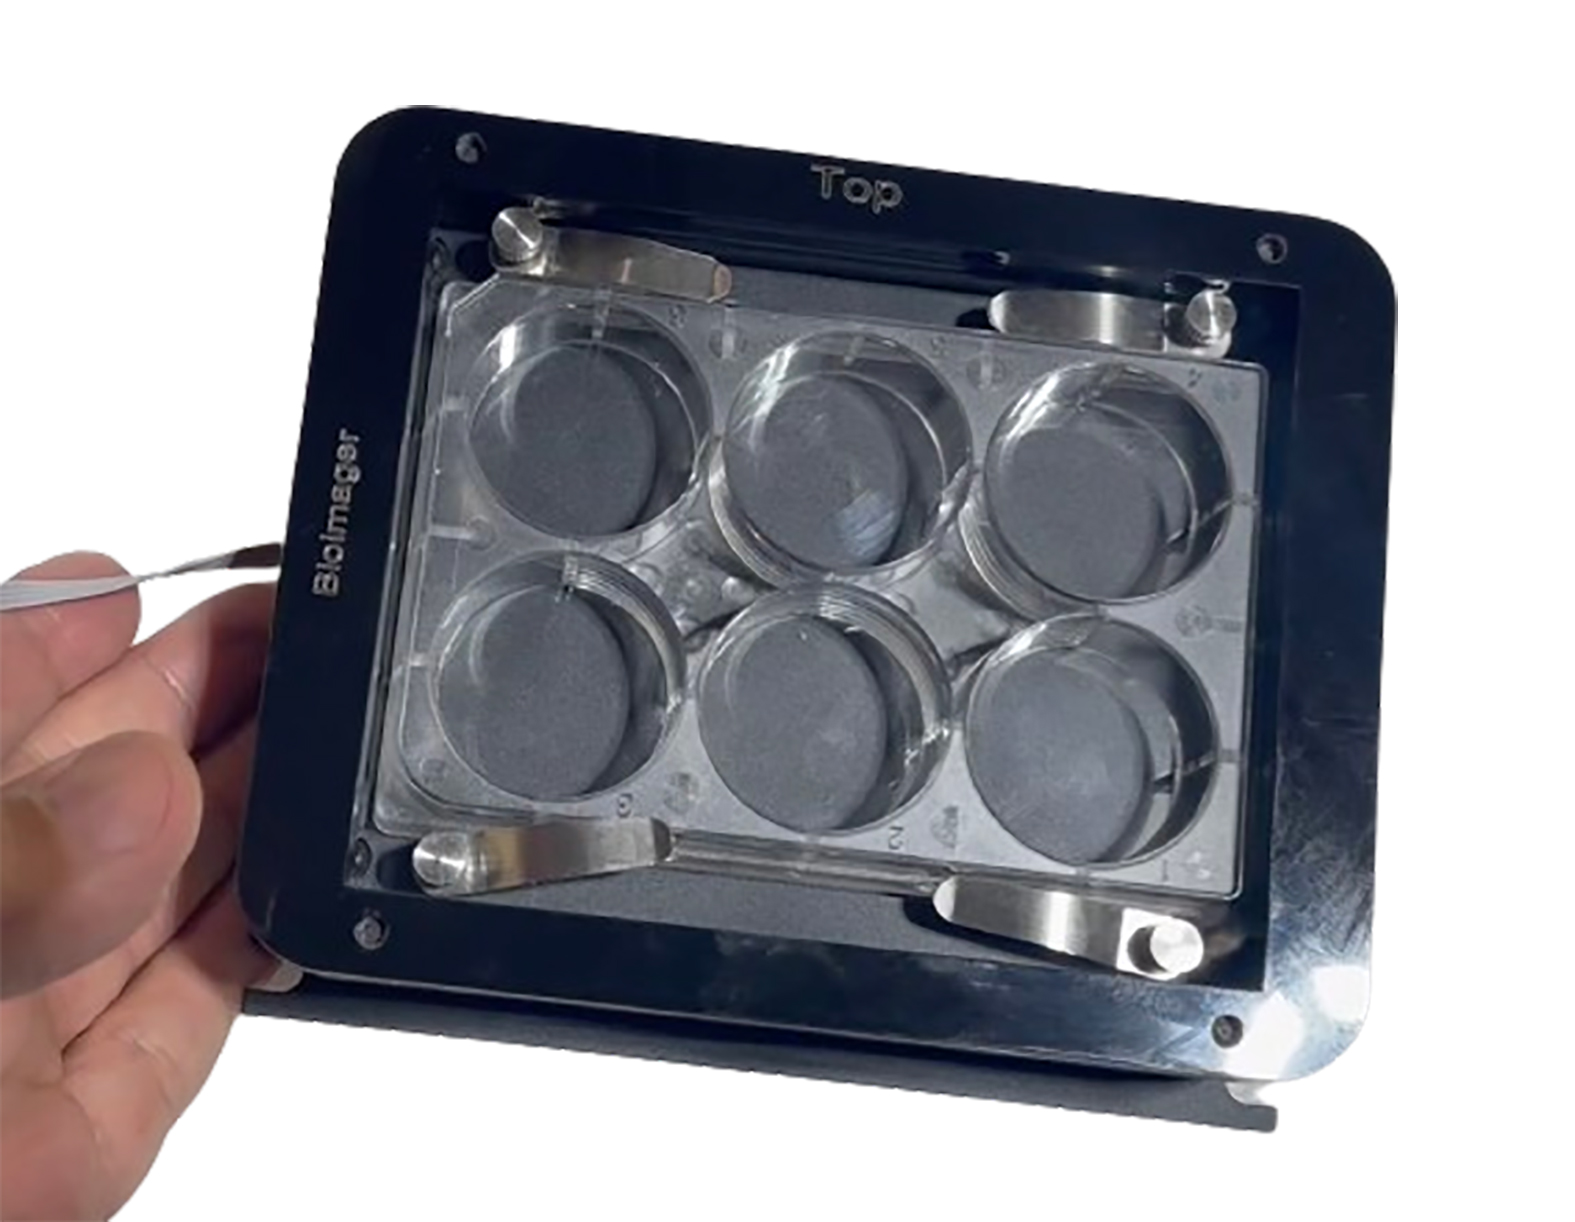
- Inside the chamber, we will need to cover our scanning area of 40 x 75 mm. Thus, the design should be flexible to work with a single petri dish, double 35mm petri-dish an even a chamber-slide.

- If you are going to collect image with the closed chamber, there would be other challenges. To capture the image from top, this is really critical parameter. We will lose the image quality, if we use plastic in the light pass. If you remove the lid we will lose the humidity. How are we going to control humidity? We can close the system and insert the humidified air from a side of chamber.
- Once we inject the humidified air, we keep the system closed by using a lid. The main problem with the lid is the condensation As soon as we start warming up the sample, we will see some drops of water start appearing underneath of the lid. This is so natural! To avoid this issue, we have to keep the lid warm.
- We may think of putting the lid just over the sample. For capturing the image from top, the light still has to go through the glass or Plexiglas. We can’t get the image of the bacterial culture or any gel or anything from surface of a sample because we have a limited working distance of the objective lenses.
- You may solve objective lens working distance issue by increasing the height of the samples such as gel in some cases or lifting the petridish /chamber slide while it is heated. There will be another issue! Heated glass lid is coated by Indium tin oxide (ITO) is a ternary composition of indium, tin and oxygen. We will see the signs of coating as part of image. if you are doing epi fluorescence imaging that will be absolutely a big issue, although in the bright field you can easily see these.
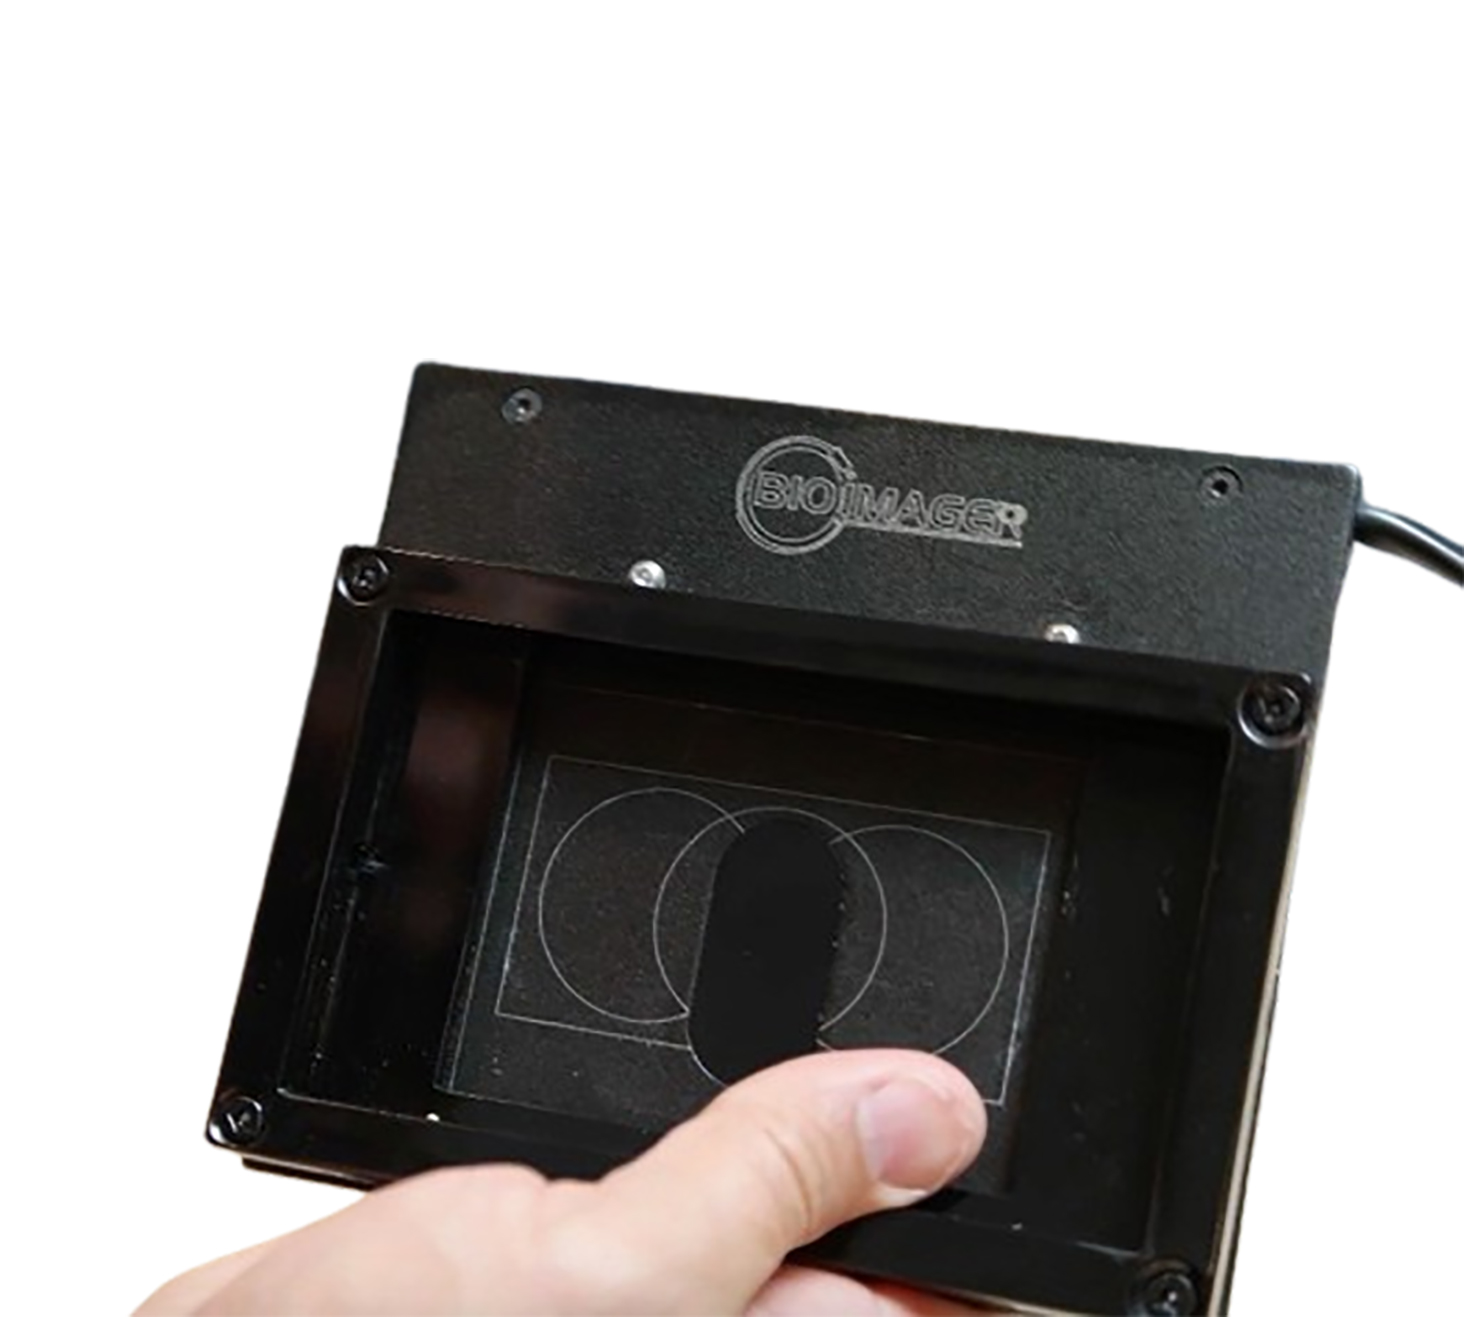
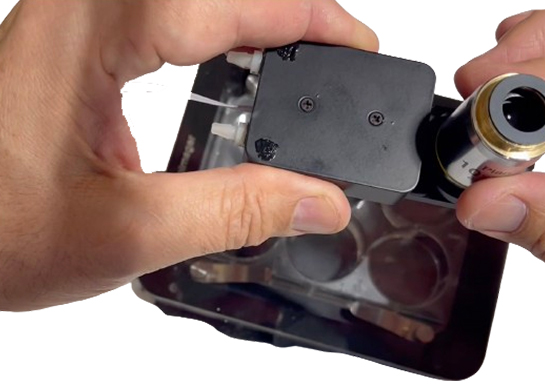
12. To use a heated glass with ITO, we can make a hole inside the lid and observe the sample directly. The size of the hole needs to be tight enough but the lens goes inside that easily. This solves those issues we discussed earlier but it has two more issues as below.
13. Since the objective lens is below the warm lid, you will/may have condensation at the edge of objective lens. To solve that issue we can use an objective lens warmer or using a lens jacket.
14. We are not going to capture just a single spot particularly we don’t know where the desired spot is. The most important part as discussed earlier is having an automated XY stage. Thus after making the hole inside the lid which goes around the objective lens, we can keep the top lid floating over the base. Basically the stage and chamber moves but the top lid and objective lens are fixed although the objective lens will move up or down to focus on the sample. The lid has to be larger enough to keep the chamber fully closed when the all of the area is scanned.
15. Last but not least, since this microscope has an automated nosepiece. Operation should be done carefully. A simple way would be move the objective lens out of the lid, then rotate the nosepiece.
In brief we demonstrated a step-by-step design of a closed miniature incubator for an automated upright biological microscope with the controlled temperature, humidity and co2. The system allows us scanning a big area inside the chamber with the direct access to observe any cell, bacteria or fungi culture, or any living organism in a petridish or glass chamber slide. We had to use two metal thermo-plates to control the temperature at base, and another one to heat the humidified air or mixture of CO2/O2. We use a heated ITO glass for lid and another thermo-plate to keep the objective lens warm, all to avoid the condensation issue. The system stays full closed while allows scanning the full size of the travelled area by the motorized XY stage and capture images in reflected bright field, dark field polarization, DIC Nomarski and Fluorescence, as well as transmitted mode.
Configurations
1. Light path
- Depending on the sample type and nature of the application, you may deal with reflected light only or both reflected and transmitted lights. We have a solution for either scenario.
2. Gas combination
- A fixed gas combination, such as 5% CO2 only, like many standard biology lab
- A variable CO2, like 5% and 10%
- A variable CO2 and O2, like hypoxic condition.
All of these can be provided.
3. Sample Type
- A micro-well plate such as 6 well, 24-well, 48 well, 96 well, etc.
- A petridiosh like 35mm, 50mm, etc.
4. Single or Multiple Objective Lens
- All magnifications, such as 5x, 10x, 20x, etc
- All types: dry, water immersion, oil immersion, etc.
- Please make sure you provide the dimension of the objective lens(es) and working distance.
5. Heating/Cooling
- Heating, from room temperature to 37′, 42’C, 50’C, even 150’C
- Cooling, is possible from room temperature to 4’C and even lower.
- Both cooling and Heating
Only logged in customers who have purchased this product may leave a review.
Reviews
There are no reviews yet.